A shotgun fires a load that consists of many pellets. Precise aiming is not required to hit a target as long as the pellets are not spread out too much. Airguns fire a single projectile, either a pellet or a BB. In order to hit the target, it is necessary to align the barrel so that the projectile goes where it is directed. Therefore, it is necessary to have some type of sight on the airgun so that aiming can be done accurately.
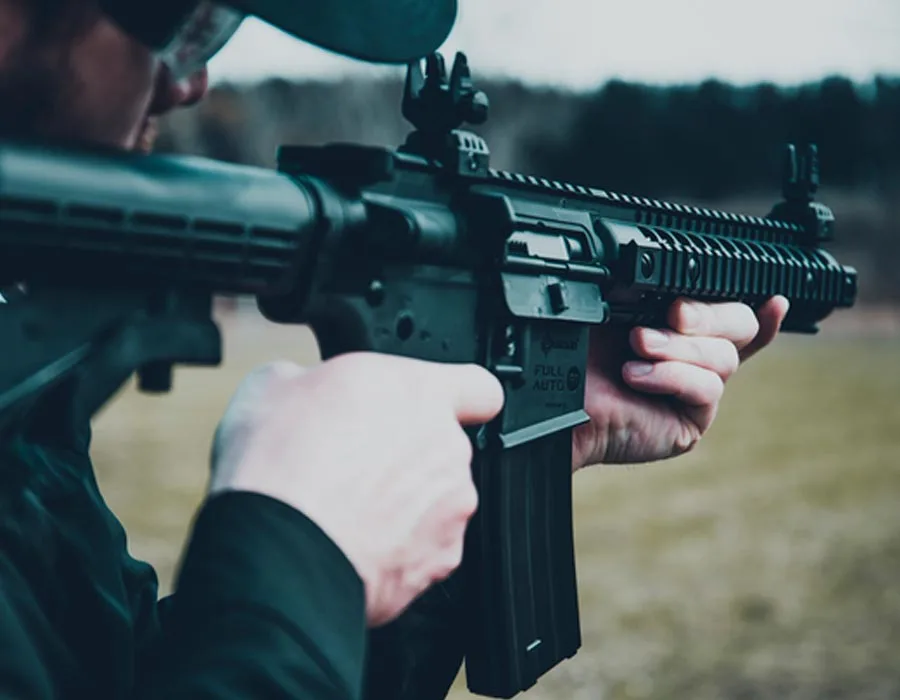
For hundreds of years, rifles have been equipped with so-called open sights. These consist of a front sight that is placed near the end of the barrel and a rear sight that is placed near the rear end of the barrel or on the receiver. Most often, the front sight is a bead or post that is aligned in conjunction with the rear sight which has a notch in a blade that can be adjusted to make the point of impact coincide with the point of aim. These sights are functional, and they do not weigh much or change the profile of the rifle. If the shooter has good eye sight, it is possible to do respectable shooting with open sights as long as the range is not too great.
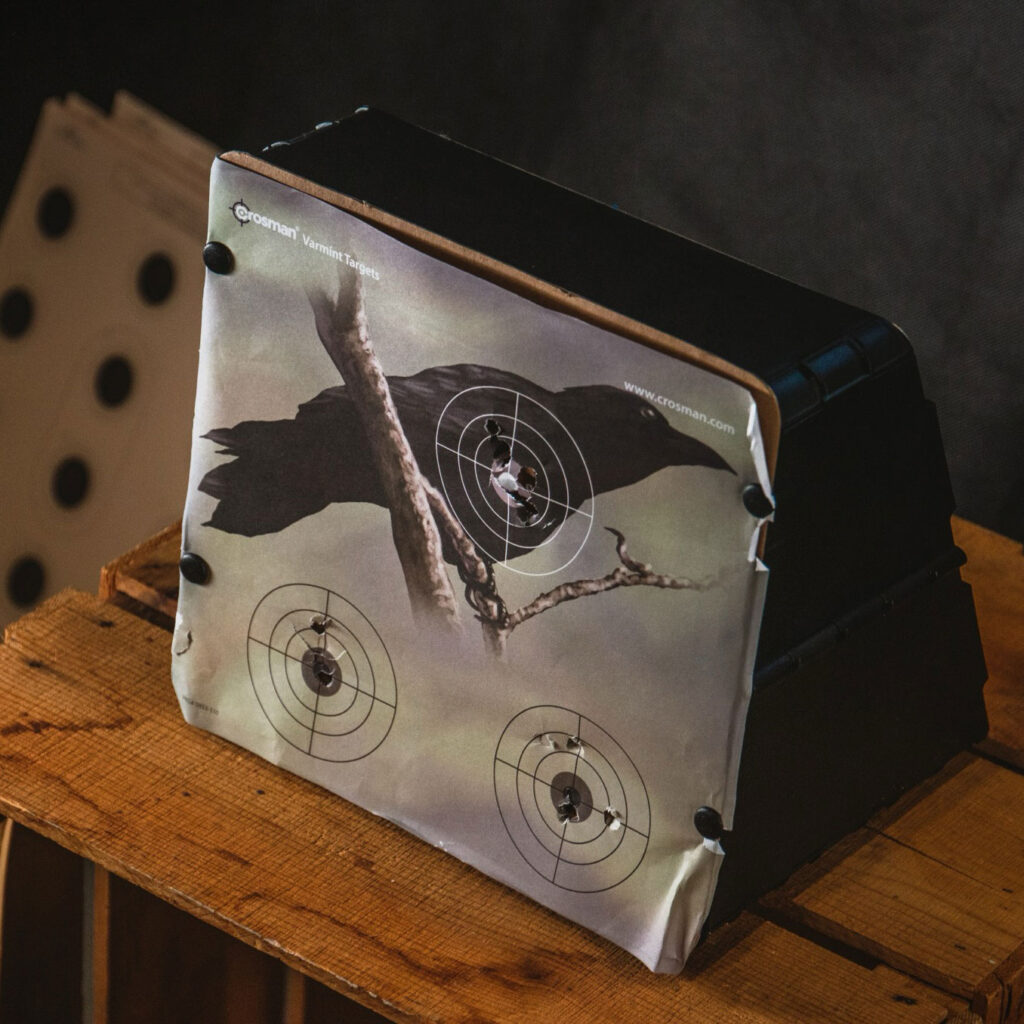
The image formed by the front and rear sights and the target are known as the sight picture. In shooting, it is very important to obtain the same sight picture for each shot. In that way, the shooter is assured that the projectile is launched toward the same point for each shot. When using open sights, there are two sight pictures that are commonly used. The first is known as the six o’clock hold. In this way, the front and rear sights are aligned so that the front sight exactly fills the notch of the rear sight and the rifle is moved until the bulls eye appears to rest on top of the front sight. In other words, the top of the front sight is placed at the bottom edge of the bulls eye which is the “six o’clock” position.
The other sight picture requires the front and rear sights to be aligned as before, but in this case, the sights are adjusted so that the top of the front sight rests on the center of the bulls eye. That is, the top of the front sight is placed on the target at the point where the shooter wants the shot to hit. This sight picture is better when shooting targets of irregular shape (cans, starlings, etc.) while the six o’clock hold is preferable when shooting at round targets of uniform size at a fixed distance. Because it is difficult to determine exactly where the top of the front sight is resting on a black bulls eye, the six o’clock hold is more accurate when shooting targets.
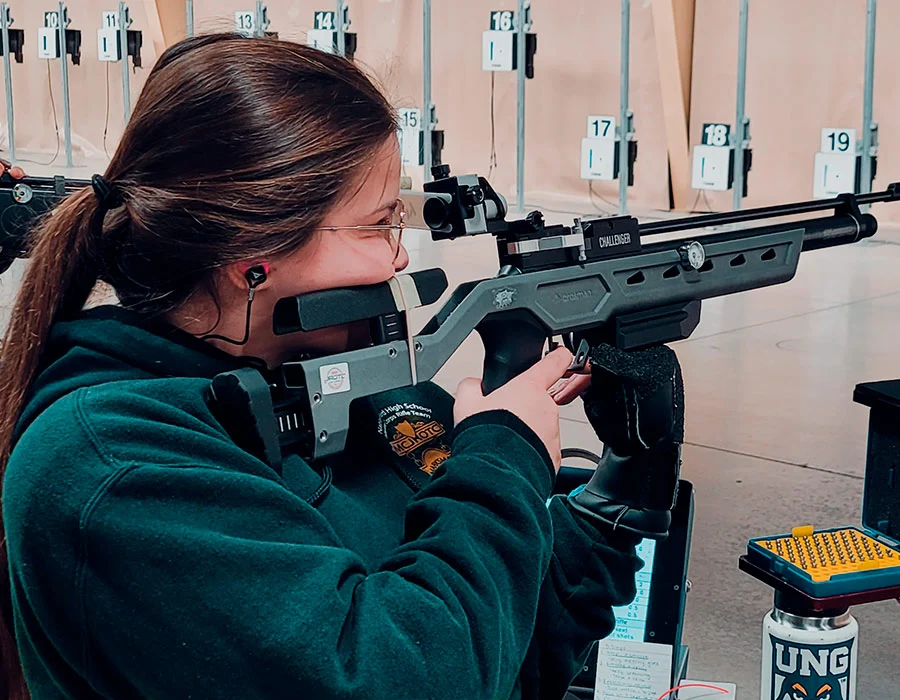
Many years ago, someone came up with the idea of having a rear sight that is located very close to the eye of the shooter. Instead of having a notch in which to align the front sight, the receiver sight (so-called because it is mounted on the receiver of the gun) has a small aperture or opening through which the shooter looks at the front sight. Because the eye naturally sees better through the middle of the aperture (the brightest spot), it is possible to place the front sight very accurately in the center of the aperture. Then, if the front sight is placed correctly on the target, the rifle will be aimed accurately at the target. Most aperture sights can be adjusted by means of dials that move the aperture vertically or horizontally to correct for elevation or windage, respectively.
When using an aperture sight (also called a peep or receiver sight), the shooter still has to obtain a consistent sight picture from shot to shot. Two methods of having the sights aligned on the target are exactly the same as those described earlier for open sights. For shooting round targets at a fixed distance, most shooters adjust the sights so that the bulls eye rests on the front sight post with a tiny sliver of light showing between the post and the black dot. This avoids having to determine where a black post is positioned on a black bulls eye. In the other method, the sights are adjusted so that the top of the post rests on the target where the projectile is supposed to strike. While this may be difficult to determine on a black target, it is the preferable way to shoot when the targets may have irregular shapes, such as when using the airgun for pest control.
Adjusting the sights of an airgun so that the point of aim and the point of impact coincide is known as sighting in the gun. Although sometimes it may seem complicated, it is actually a very simple process. First, set up a target on a safe backstop and fire three shots from a steady rest. The three shots should form a small cluster. Note where the shots hit in comparison to the aiming point. Second, move the rear sight in the direction you want the point of impact to move. If the shots hit low, raise the rear sight. If the shots hit to the right of the aim point, move the rear sight to the left. With open sights, this is a matter of trial and error with regard to how much the sight should be moved. Most aperture sights have click adjustments with one click moving the point of impact a specified amount (perhaps ¼ inch at 10 meters). After making your preliminary adjustments, shoot three shots to determine where the point of impact is in relationship to the point of aim. After two or three adjustments, you should have the projectiles where the sights are aligned on the target. Keep in mind that what you are doing is changing the way in which the sights are aligned on the target so that the point of aim coincides with the point of impact.
In recent years, the telescopic sight (referred to as a scope) has become very popular, even on airguns. Several Crosman models are available as a combination consisting of the rifle and scope. A scope sight has many advantages. First, the scope magnifies the target so you can see it better, and it has an aiming device such as a crosshair (the reticule) that can be aligned easily on the target. Second, scope sights are designed so that the reticule and the target appear to be the same distance away. Therefore, it is not necessary to focus your eye on the rear sight, front sight, and target (which is not possible) which are at differences from you eye.
In addition to the advantages described above, scopes are easy to adjust to sight in an air rifle. Adjustment knobs are located near the middle of the scope on the turret. One knob adjusts elevation while the other adjusts windage. The sight in procedure is the same as that described above except that the scope adjustment knobs are clearly marked as to which direction to turn them to achieve a desired change in the point of impact. Moreover, scope knobs have a scale that shows how much the point of impact is moved for each “click” the knob is moved.
Although scopes make it much easier to shoot accurately, they alter the handling characteristics of the rifle. With a scope on top of the gun, it is more difficult to grasp the gun for pumping. Also, a scope adds weight to the rifle and makes it larger which can be a factor in some instances. Even with these minor disadvantages, the use of scopes on airguns has become so common that several manufacturers of scopes make models specifically for use on airguns.
Because a break action air rifle has a large piston that stops suddenly when it reaches the front of the compression chamber, the rifle is yanked forward as a shot is fired. Ordinary scopes are designed for backward recoil so they are not constructed to withstand the jerk that accompanies firing a break action air rifle. If you plan to mount a scope on a break action rifle, make sure that it is one designed to handle the type of recoil that such rifles produce.
In recent years, two other types of optical sights have become popular. The first of these is the red dot sight which is so named because it makes use of a red dot projected on a lens. The dot can then be aligned on a target by looking through the sight and moving the gun so that the red dot is placed correctly on the target. A red dot sight requires aligning only two objects, the dot and the target. Red dot sights are easy and fast to use, but they are not normally employed when high accuracy is desired. In most red dot sights, the dot is large enough so that it covers an area that is as much as 2 or 3 inches in diameter at 25 yards so precise aiming (as with a scope) is not possible. After the red dot sight is mounted on the gun, it is sighted in in much the same manner as a scope.
The second type of sight to see common usage is the laser sight. A laser sight consists of a laser that is mounted on the airgun similar to the way in which a scope is attached. It emits a laser beam that is directed toward the target. When the beam is on the target, the shot fired should hit where the beam is directed if the sight is properly adjusted. Laser sights are adjustable for elevation and windage by means of screws that move the laser beam in the direction needed to make the point of impact coincide with the point of aim. Although the laser sight is an interesting device, it is somewhat limited in its ability to be used in bright light and at longer distances. Also, the beam has enough width to make it a less accurate aiming device than a scope. Because they are more suitable for rapid target acquisition at short ranges, red dot and laser sights are more often used on handguns than on rifles.
Another factor to consider regarding the laser sight is the potential for eye injury. Lasers are used in some types of eye surgery, and the lasers used in sighting equipment come with all sorts of warnings that must be heeded. Never allow a laser sight to point in to your eye or the eye of someone else! Laser sights are not toys!


